Click here to buy Mitchell Yass’s books,The Yass Method for Pain-Free Movement: A Guide to Easing through Your Day without Aches and Pains, or check out his website.
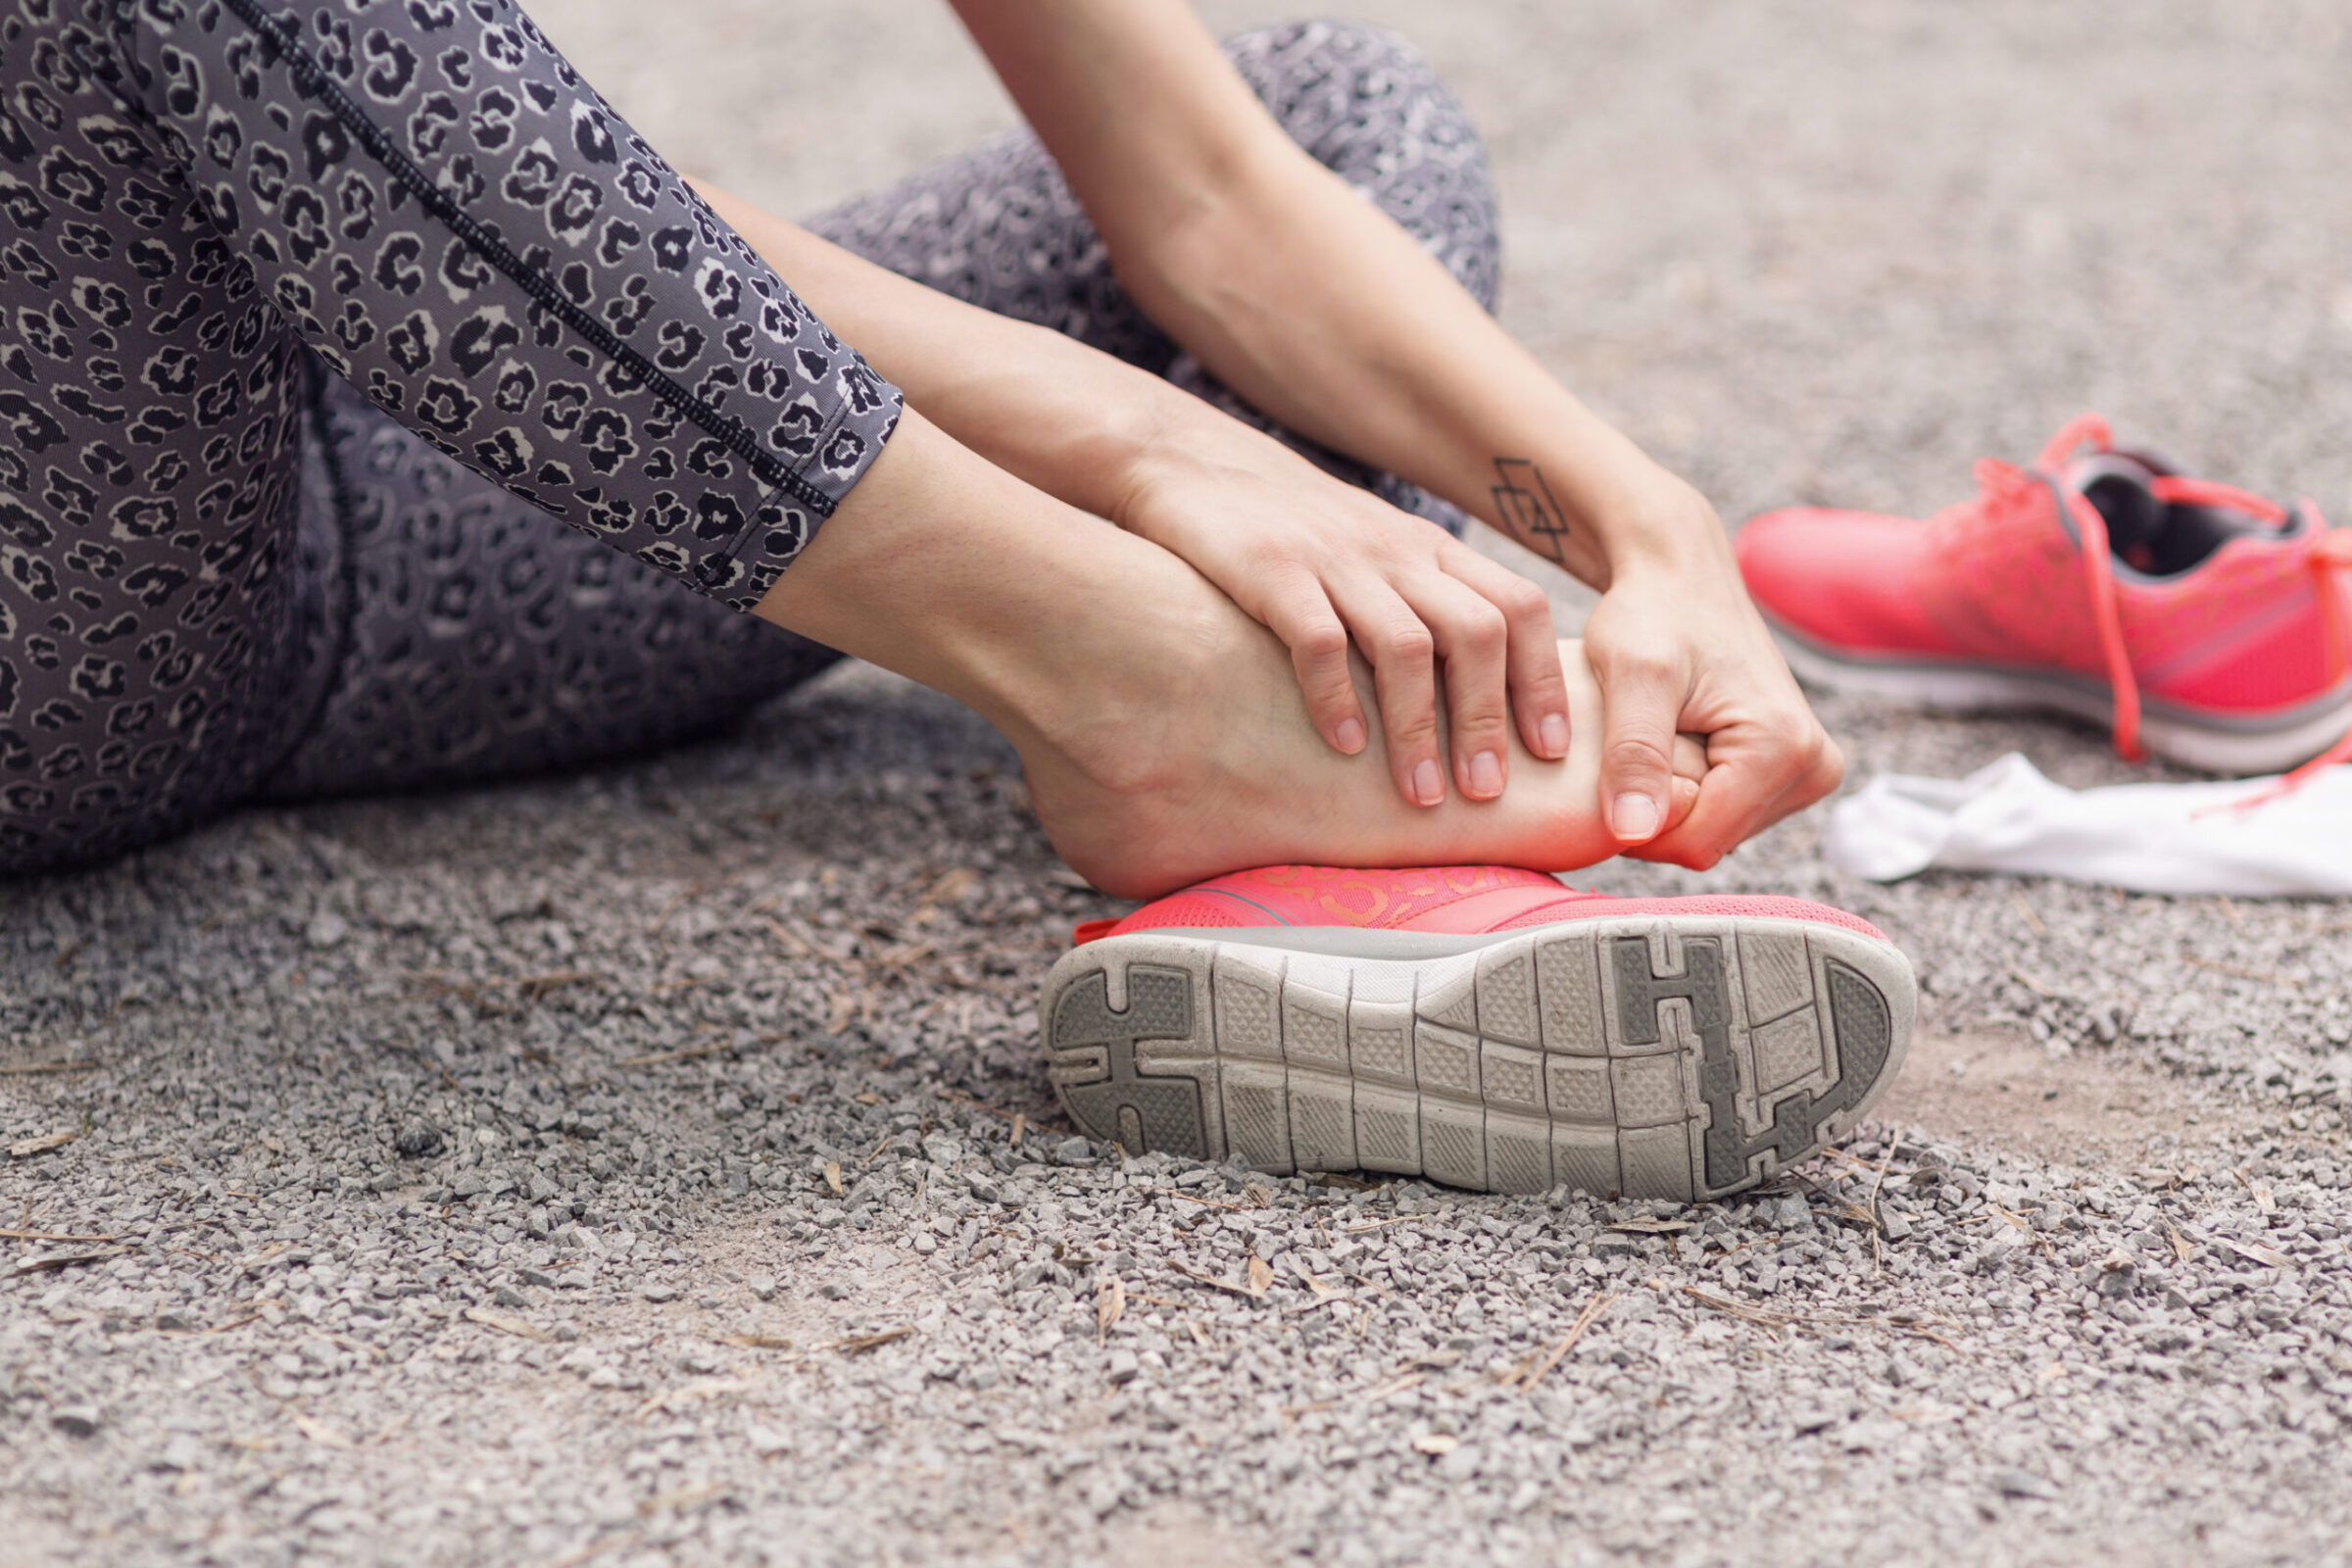
Bunions occur when excess bone develops at the base of the first toe (known as the first metarsal head). That excessive bone can make weight-bearing on the foot severely painful and almost impossible—as many of you likely already know.
People will try bunion pads or other bunion correctors to alleviate some of the force being absorbed at the base of the first toe. Bunion correctors are “Band-aids.” They fix nothing and do not address the cause (which I explain below).
Some people will try to alter how they walk so they don’t elicit pain from the bunion. (This tactic ultimately can lead to pain at another location because the altered weight-bearing designed to limit pressure on the bunion is now causing excess force somewhere else.)
Some people will try going to a podiatrist to have the bunion scraped or shaved.
Once the pain becomes so excessive and no other alternative relieves the pain, surgery typically becomes the last option. Sometimes the surgery is just to remove the bunion. Other times the surgery is more involved to correct the bunion as well as a misalignment of the first toe.
For most people, the development of a bunion and the symptoms and treatment of the bunion appear to be out of their control. It is all part of the existing medical quandary that most people find themselves stuck in—a medical system there to help address symptoms that develop, but no guidance on how to prevent these problems in the first place.
Well, I am going to blow your minds and present the idea that bunions—and their associated pain—not only can be limited in severity, but they can be completely prevented from ever occurring!
WHAT REALLY CAUSES BUNIONS???
First, you need to understand the mechanism that develops the bunion in the first place.
When you stand on your foot, the goal of proper weight-bearing is to feel pressure through the entire foot. This means that there you should feel as much weight-bearing going through the fifth metatarsal head as the first (the metatarsal heads are the balls of your feet)—i.e., that your body weight is being distributed evenly over five points of contact to the floor.
What can happen, and in fact happens often, is that a person’s gluteus medius muscle will strain and weaken. This muscle, which sits at the side of the pelvis and attaches to the hip joint, is responsible for creating stability and balance. And it’s this muscle that is critical to keeping the pelvis level when single-leg standing, such as when walking. When the pelvis stays level, then a person will be weight-bearing through the whole foot and distribute body weight evenly through all five balls of the feet when she or he walks.
If the gluteus medius muscle is strained and weakened, the pelvis cannot be held level. The side of the pelvis opposite from the one being stood upon will start to drop. In dropping, it causes a person to weight-bear through the inside of the foot rather than the midline. The person ends up weight-bearing on the first and second balls of the feet, or sometimes strictly on the first metatarsal head only.
This means that five points worth of force is now only being applied to one or two points of contact. When excessive force is applied to a bone, the body responds by making more bone at the first ball of the foot—i.e., a bunion.
To stop the continued development of an existing bunion or to prevent a bunion from developing at all, the process is quite simple. You need to make sure you are weight-bearing through all five balls of the feet.
To accomplish this goal, you need to make sure that the gluteus medius muscle is strong, as well as two muscles that support the inside of the foot and the ankle. By strengthening these muscles, the pelvis will be able to be stay level position when single-leg standing and you will find it easy to weight-bear through the whole foot. This ends any excessive load being applied to the first ball of the foot and therefore traumatic bone growth will be inhibited from developing.
You probably have never heard of information like this before, and certainly the existing medical model of treating bunions is designed to simply minimize your symptoms until you are directed toward a surgery that will temporarily remove the bunion. But my responsibility is to explain why things happen so you can be more preemptive in your ability to stop problems like this from happening in the first place.
SELF-TEST: IS YOUR GLUTUEUS MEDIUS WEAK?
To test your gluteus medius muscles, simply stand on the foot with the bunion and see how long you can stand with the other foot off the floor. Then try it with the unaffected side.
If the gluteus medius muscle is weak on the affected side, you will find it more difficult to single-leg stand on that side and you will have a tendency to fall toward the opposite side (and likely have to put the opposite foot down to prevent you from falling).
Also notice whether your foot and ankle have a tendency to collapse to the inside. If that is the case, it shows that the excessive force is being developed at the foot and ankle, causing a loss of support at the inner foot and ankle. This is what leads to the excessive loading of the first ball of the foot…and, ultimately, to bunions.


STRENGTHENING EXERCISES TO STOP BUNIONS
Hip Abduction (gluteus medius): I’ve shared this exercise in some previous blogs on low back pain and plantar fasciitis. But I’m including the instructions again here to make it easier for you.
This exercise can be performed either lying on your side or standing. To do it correctly, make sure you do not go too far when moving your leg outward. People falsely believe that more range of motion is better, but in this case too much range of motion means you are using the lower back muscle to create the motion, not the gluteus medius (hip muscle). The gluteus medius muscle can only move the leg out to the point where it is parallel with the hip joint. Any outward motion beyond that is created by the lower back muscle.
To do the exercise lying down, lie on your side with the knee of the bottom leg bent and the top leg straight. The top leg should run in a continuous line from the torso—if the leg is angled in front of the torso, you would use the wrong muscle. Start to raise the top leg off the supporting leg until your top leg is parallel with the floor. As you lift, try to turn the leg in slightly so the heel is the first part of the foot that is moving. This puts the gluteus medius in the optimal position to raise the leg. Once your leg reaches parallel to the floor, begin to lower it back onto the supporting leg.
If you prefer to stand, the outward movement is similar to when lying down—lead with the heel, and don’t move your leg too far to keep the exercise focused on the gluteus medius. Holding on to a sturdy table or chair while you perform the exercise will make it easier to use proper form.


Dorsiflexion (anterior tibialis): I’ve also advised this exercise for relieving plantar fasciitis, knee pain and even for symptoms of diabetic neuropathy.
Secure a resistance band under a sturdy table or knot one end and put the knot behind a closed door. Sit on the floor and extend your weak leg but keep your knee bent. Slip the end of the resistance band over your foot so that it is supported on the front of the foot in the mid-foot region. Start with the ankle angled about 30 degrees forward. Next flex your foot, pulling it toward you about 10 degrees beyond perpendicular. Return to the start position.


Inversion (posterior tibialis): I know I’m repeating myself, but inversion is another exercise I wrote about for relieving plantar fasciitis and what seems to be diabetic neuropathy. (Are you sensing a pattern here? These are important muscles!!!)
Secure a resistance band as described above. Sit in a chair placed parallel to the door or table. The resistance needs to come from the side of the leg to be exercised—so if it’s your right food, the band should be secured from the outside of the right foot at about the same level as your foot. Place the resistance band around your instep and sit with your working leg at a 90-degree angle so that your heel is under the knee. Keeping your heel touching the ground, raise the rest of your foot and place the toes outside the line of the ankle. Slowly pull the toes inward until they are inside the line of the ankle. (The foot will turn upward slightly as the foot is moved inward at the end of the range.) Place your hand on the side of the knee of the working leg to make sure it does not move. You do not want any movement or rotation of the working leg. The only motion should be at the ankle. Return to the start position.


Perform these exercises three times a week. For each, do three sets of 10 repetitions with a one-minute break between sets. Continually increase the resistance used until the muscles involved are strong enough to perform your functional activities without straining and emitting symptoms.
Good news/bad news: If a bunion began, doing these exercises can stop its progression. If it did not begin, you can prevent it from initiating by keeping these three muscles strong. But—you cannot reverse a bunion once it started; it is actually traumatic bone growth.
Click here to buy Mitchell Yass’s books,The Yass Method for Pain-Free Movement: A Guide to Easing through Your Day without Aches and Pains, or check out his website.