Wallpaper isn’t as common as it once was in homes for a couple of reasons. It’s more costly than paint, and for a long time it was associated with outdated and old fashion décor. However, wallpaper is enjoying a renaissance due to having intricate patterns, colors, and textures that simply can’t be replicated with pain. The downside of this resurgence is that not a lot of people are familiar with wallpaper, and how to remove old wallpaper and hang up new wallpaper are tricky for the inexperienced to master.
Never fear though. In this excerpt from the book Household Magic authors Joan and Lydia Wilen explain everything there is to know about wallpaper. From removing the old wallpaper to hanging new wallpaper so the pattern matches.
WALLPAPER
Putting wallpaper in a room is a great way to make a creative decorating statement. Depending on your choice of wallpaper pattern, texture and colors, it can coordinate or dominate …or simply become a low-profile background.
Want your room to look taller? Consider using wallpaper that has vertical stripes. Want your room to look wider? You guessed it—horizontal stripes. If you have a high ceiling and want the room to look cozier, consider adding a border near the ceiling. The room will appear smaller if you choose wallpaper with dark colors and large patterns.
Selecting wallpaper is the first and the most fun step. Next comes the work of prep ping the walls and applying the paper. Here are some tips that will help you get to the final step, when you can step back and admire the new look of your room…
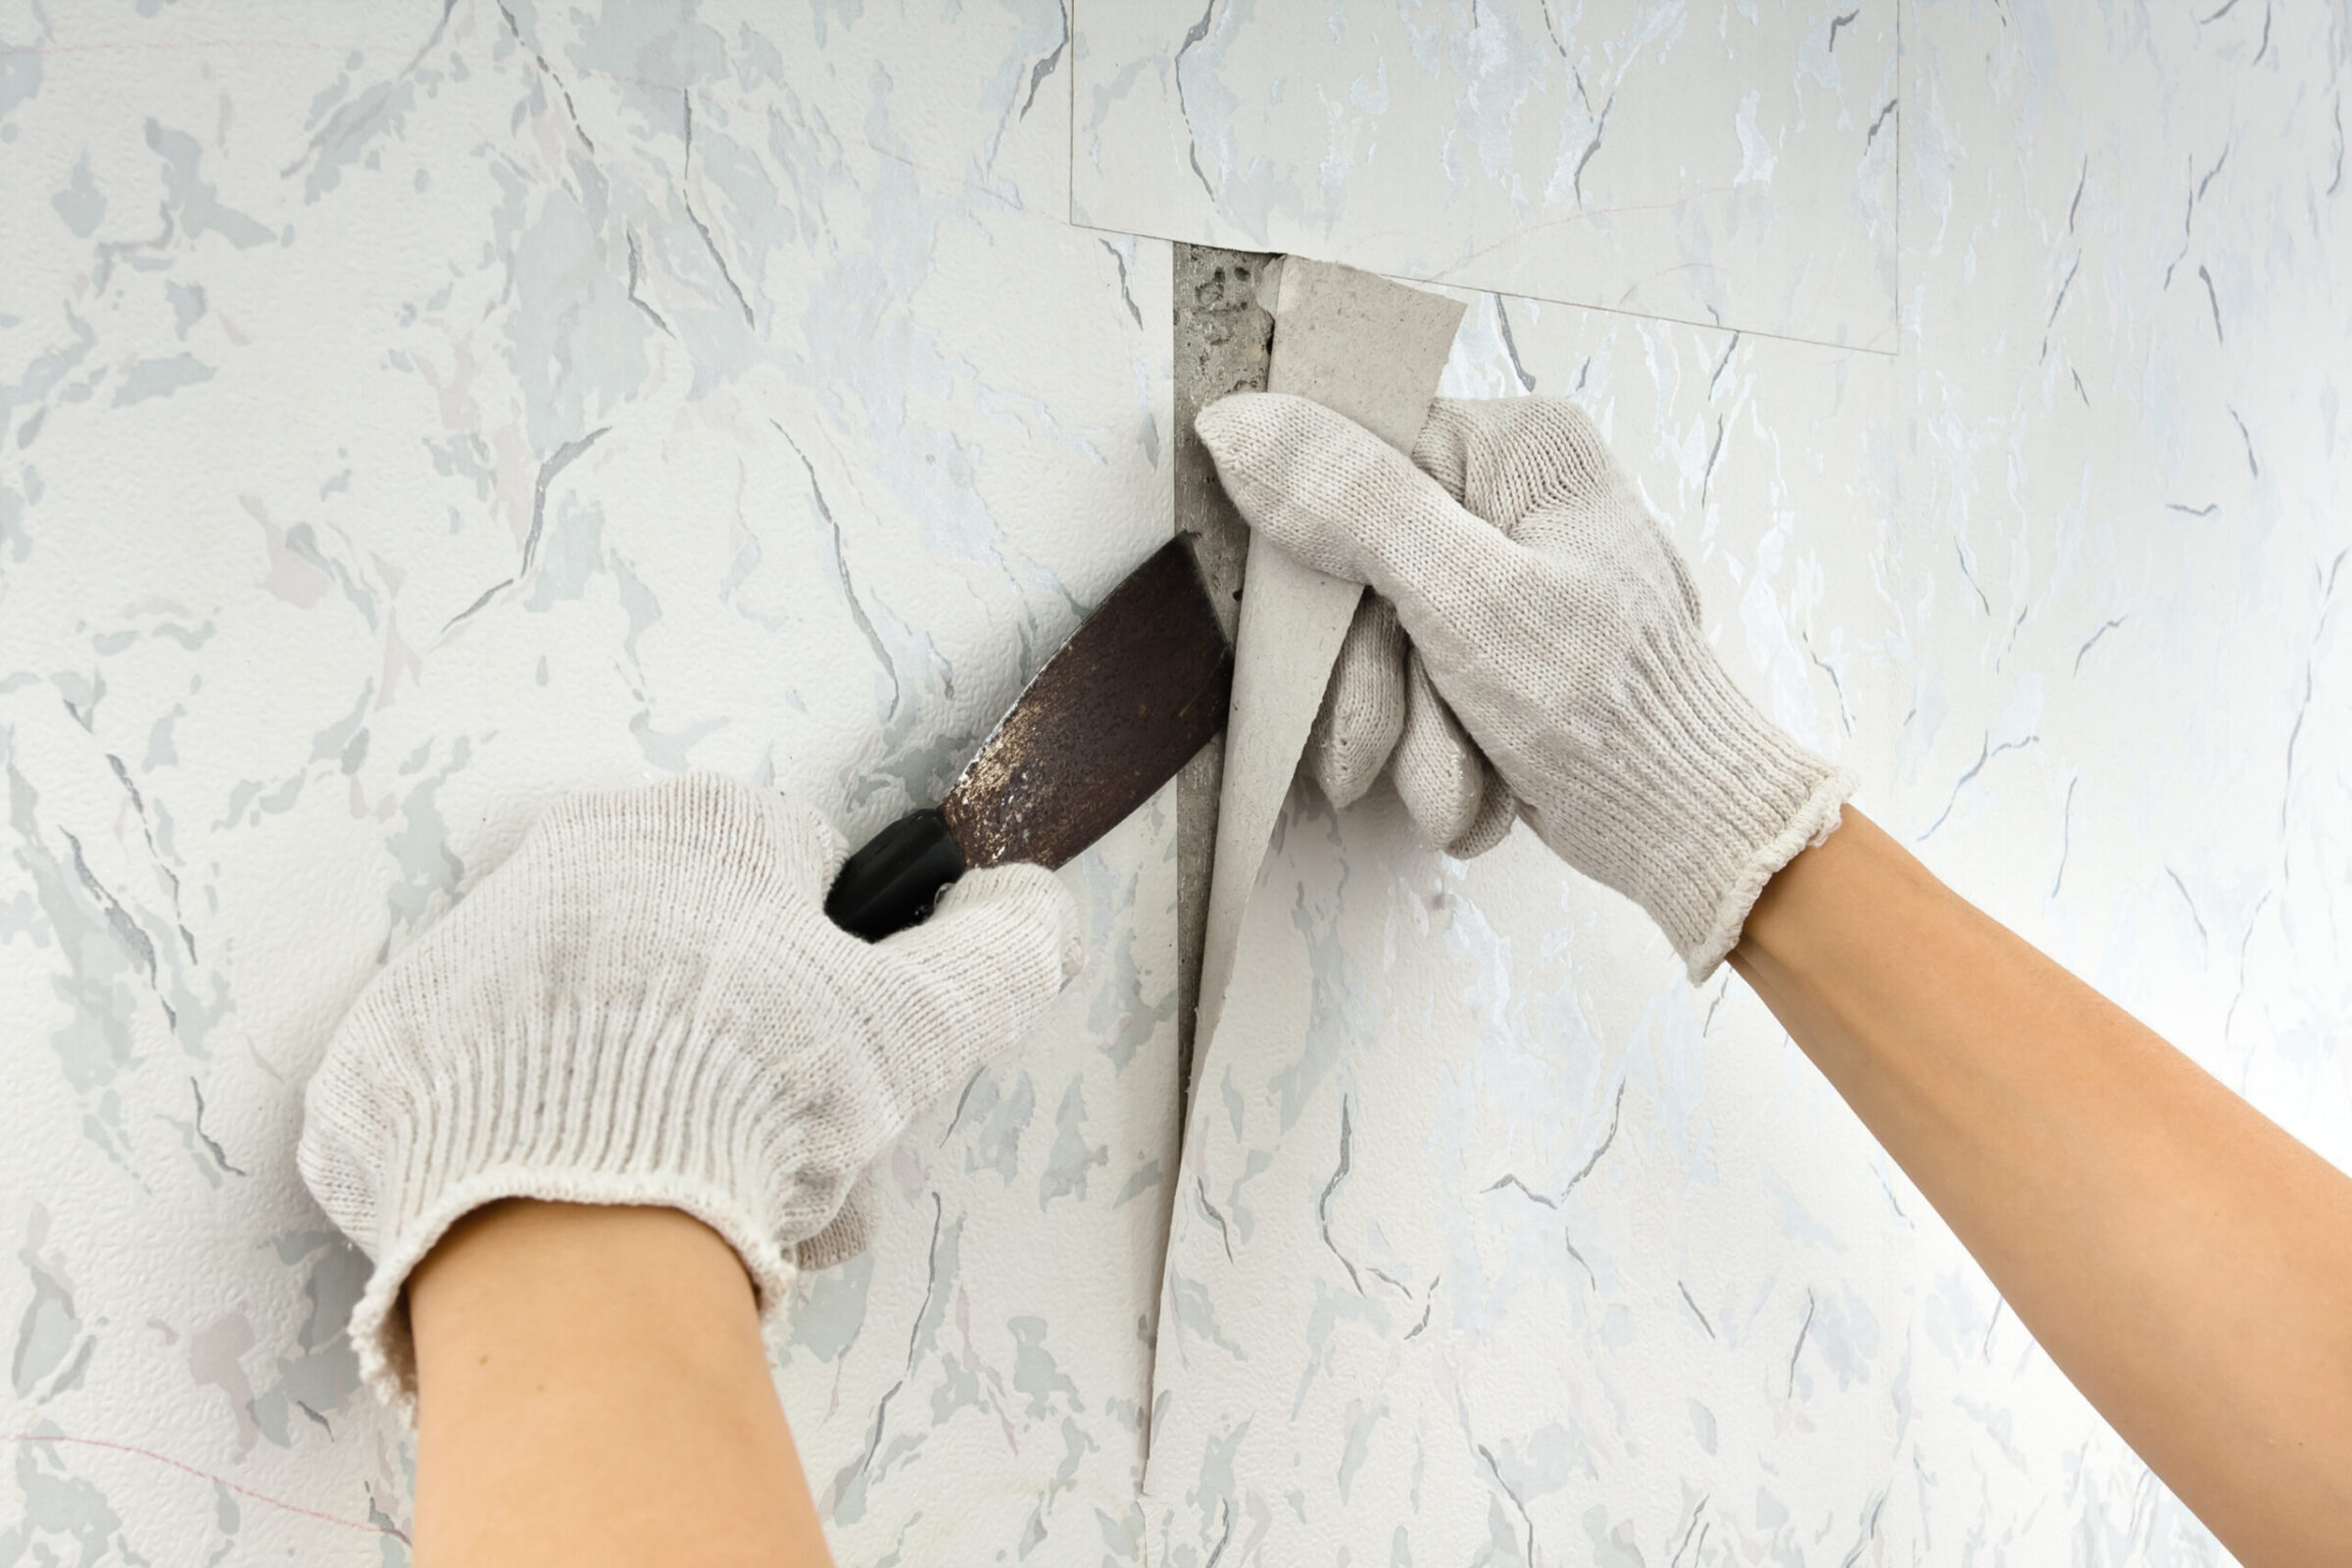
Removing Old Wallpaper
This process can get messy, so be sure to move your furniture to the middle of the room (or to another room), remove all curtains and window treatments, and cover the floor with a drop cloth, tarp, some old bedsheets or lots of newspaper.
◆ First perforate the old wallpaper (you can buy an inexpensive scorer at hardware and paint stores). Then mix equal amounts of hot water and distilled white vinegar. Saturate a sponge with the mixture and wipe it on the wallpaper. (If you prefer to use a paint roller and tray or a spray bottle, that’s fine. It doesn’t matter how the solution gets on the wallpaper as long as it’s HOT going on.) Allow it to saturate the paper for 10 to 15 minutes, then you should be able to easily peel off the paper.
◆ If you would rather not be around the smell of vinegar, use one part liquid fabric softener to two parts hot water. Apply the solution to the wallpaper with a sponge, roller or spray. Then about 10 minutes later, start peeling.
Preparing the Walls
Take the time to thoroughly prep your walls before putting up wallpaper. It will help keep you safe, help ensure that the wallpaper adheres to the wall properly and will make future wallpaper removal a lot easier. Let’s start with safety…
◆ After you remove the switch plates, cover electrical outlets and switches with pieces of masking tape to protect them from exposure to sanding, priming, paste and water.
CAUTION: When the wallpaper is up, turn off the electricity in the room before cutting the excess wallpaper and cleaning around the electrical outlets and switches. You don’t want there to be surging electricity when water and metal are involved.
◆ Before hanging wallpaper, be sure the walls are clean, completely dry and free of any residual paste, grease, mildew or other stains. Wait at least one hour after washing to apply new paper.
Use a spackling compound (available at hardware and home-improvement stores) to repair small nicks or cracks in the wall, then use sandpaper to make it smooth. It also helps to sand away small bumps or protrusions.
◆ Apply a good acrylic-based primer/sealer (get one that is specially formulated for wall coverings) to protect the wall surface from paste damage, and prevent the wall from absorbing moisture from the paste. Primer slows the paste’s drying time and makes it easier to position and reposition the paper as you work with it.
Also, priming ensures that the wall and the paper will form a strong bond and adhere better. And in the future, when you’re ready for another decorating change, the paper will be easier to remove, thanks to the primer.
Ask the Expert!
The best advice we can give you—without devoting half of this book to wallpapering—is to buy wallpaper from a knowledgeable salesperson. Tell him/her exactly what kind of walls (such as painted, papered, drywall or new plaster walls) you want to cover.
The wallpaper person should be able to offer valuable guidance in terms of your specific wall preparation and wallpaper application, and also suggest the proper tools you will need for each step of the process. Take notes.
Applying Wallpaper Paste
Keep in mind that it’s better for wallpaper paste to be too thick than too thin. Thicker paste will hold the paper in place better than thin paste.
You can test the paste by dipping the paste brush into it. Then, lay the brush on the back of the wallpaper. Leave it there for one to two minutes. When you pick up the brush, the paper should be stuck to it. Then you can just peel it off, knowing the paste is ready to use.
Clean as You Go
Keep a sponge and a bucket of clean water nearby. As you apply the paper to the wall, use the wet sponge to wipe off any globs of paste that land on the wallpaper.
The Case Against Seam Rollers
If you are applying embossed wallpaper, do NOT use a seam roller to seal the seams. The roller can crush the embossed pattern and give it a flattened look.
Even if you don’t have embossed wallpaper, you may not want to use a seam roller. This type of roller seems to squeeze the paste out from under the paper.
Prevent Wallpaper Peeling
If your cooking heats up the kitchen…or your hot showers steam up the bathroom, you may want to take a precautionary step.
After you finish wallpapering the room, paint the wallpaper seams with clear varnish (available at paint and hardware stores). Doing this should go a long way in preventing the paper from peeling.
Creating a Wallpaper Patch
If you need to patch a section of wallpaper months—or even years—after you originally wallpapered a room, you will want that patch to be totally unnoticeable. But chances are, if you take a patch piece from the extra roll you put away when you first wallpapered, the piece will be brighter—and therefore more noticeable—than the rest of the wall.
To prevent that from happening, as soon as you hang your wallpaper, also tack a leftover piece of the paper in an out-of-the-way place— for example, on part of a wall that nobody can see…maybe behind a piece of furniture. Since it will be exposed to light and air, it will match your hanging wallpaper perfectly, if and when you need a patch.
Make Note of It
Write down all the details of the wallpapering job—for example, the wallpaper lot number, brand and name (go ahead and attach a sample), the store where you bought it, the price you paid, the size of each roll, the number of rolls you bought vs. the number of rolls you used, and the tools and supplies you needed to do the job.
Put the information in a computer document or attach it to something—in the back of a picture or on the bottom of a lamp—in the room that was papered. And make a note of where you put the note!
Using Leftover Wallpaper
Once you’ve saved enough wallpaper for patches that you may or may not need, think of creative ways in which you can use the rest of the left over roll of wallpaper. Here are some suggestions to get you started…
◆ Line drawers and shelves.
◆ Let the pattern dictate shapes for you to cut out and use as place mats. Spray them with acrylic and set the table.
◆ If the paper is flexible, use it to cover books.
◆ Cover the mats on framed pictures in the wallpapered room.
◆ If the pattern lends itself, cut out appropriate designs and decorate furniture—such as cabinets, table tops and chair backs—with it. This usually works well with wallpaper in a child’s room.
◆ You can cover kitchen windowsills with vinyl wallpaper.
◆ Use the wallpaper for scrapbooking activities.
Cleaning Washable Wallpaper
In a mixing bowl, combine 1⁄4 cup of liquid dish detergent and one cup of warm water. Use a mixer to beat the solution until you get a stiff foam. Use the foam on a sponge or cloth to wash the wallpaper. The foam will clean the wallpaper without drenching it.
NOTE: This tip is only applicable to wall paper that is meant to be washed.
Cleaning Wallpaper Stains
◆ For stains on washable wallpaper, make a thick paste using one heaping tablespoon of either cornstarch or baking soda mixed with one teaspoon of water. It should be the consistency of oatmeal. Wipe on the paste, and wipe off the smudge with a clean cloth.
◆ For smudges and other unidentifiable spots on nonwashable wallpaper, use a gum eraser (available at stationery and art-supply stores). Make sure the eraser is clean before you gently rub it on the wallpaper. If the paper has a grain, rub with the grain.
◆ If there is a fresh grease mark on your wallpaper, blot off as much as possible with a clean paper towel. If the stain remains, cover it with two layers of plain brown paper from a grocery bag, and go over it with a warm iron. When the grease is transferred to the paper, use new pieces of paper. Continue doing this until the stain is gone.
◆ Gently rub a scrunched-up piece of fresh crustless bread—white or (seedless) rye— on the greasy stain. Think of the bread as an absorbent eraser with gluten, the substance that is said to be a cleaning agent.
◆ Use a soft brush to dust cornstarch on the grease spot. Let it stay on for 30 minutes, then brush it off. If it’s not as clean as you hoped, repeat the process.
◆ To remove crayon marks from wallpaper, use a dry, fine-grade steel wool cleansing pad—the kind with soap in it. Gently rub the scribbles until they’re gone.
◆ You can also dab on a dollop of non-gel white toothpaste to remove crayon marks. Leave it for 30 minutes, then wipe it off with a dry cloth.
Easier Kitchen Cleanup
If your kitchen is wallpapered and you have areas that are at high risk for stains (like be hind the stove), cover the wallpaper in those areas with clear contact paper (available at paint, craft and some hardware stores). It’s easier to clean contact paper than most types of wallpaper. Just be aware that it will look slightly different.
Cleaning Other Types of Wall Coverings
◆ Dyes in burlap-textured paper may run, so you don’t want to clean it by wetting it. Instead, use an appropriate vacuum-cleaner attachment to dust it on a regular basis. If there’s a stain, remove it by rubbing the spot with crustless white or (seedless) rye bread.
◆ As you may already know grasscloth- textured paper is not the most durable paper to live with (especially if you have cats who like to scratch it!). It’s not a good idea to place furniture—or anything else—against a grasscloth-covered wall. The grass will soon rub off and leave unattractive marks or bald spots. Dust grasscloth with a feather duster or, if you’re brave and willing to take a chance, use a soft-brush vacuum-cleaner attachment on low suction.
For additional home decorating tips and other advice for your home, purchase Household Magic from Bottomlineinc.com.