Not everyone is born handy with tools or knows someone that can help them learn the ropes. If you’re just getting into DIY projects, or this is your first-time taking care of your own everyday home repairs there is no need to stress. Everyone starts somewhere, and small home repairs are a great place to get started as a DIY-er.
In this Excerpt from the book Household Magic by Joan Wilen and Lydia Wilen the authors explain the basic tools you need for everyday home repairs, and give tips for a few basic repairs to get you started.
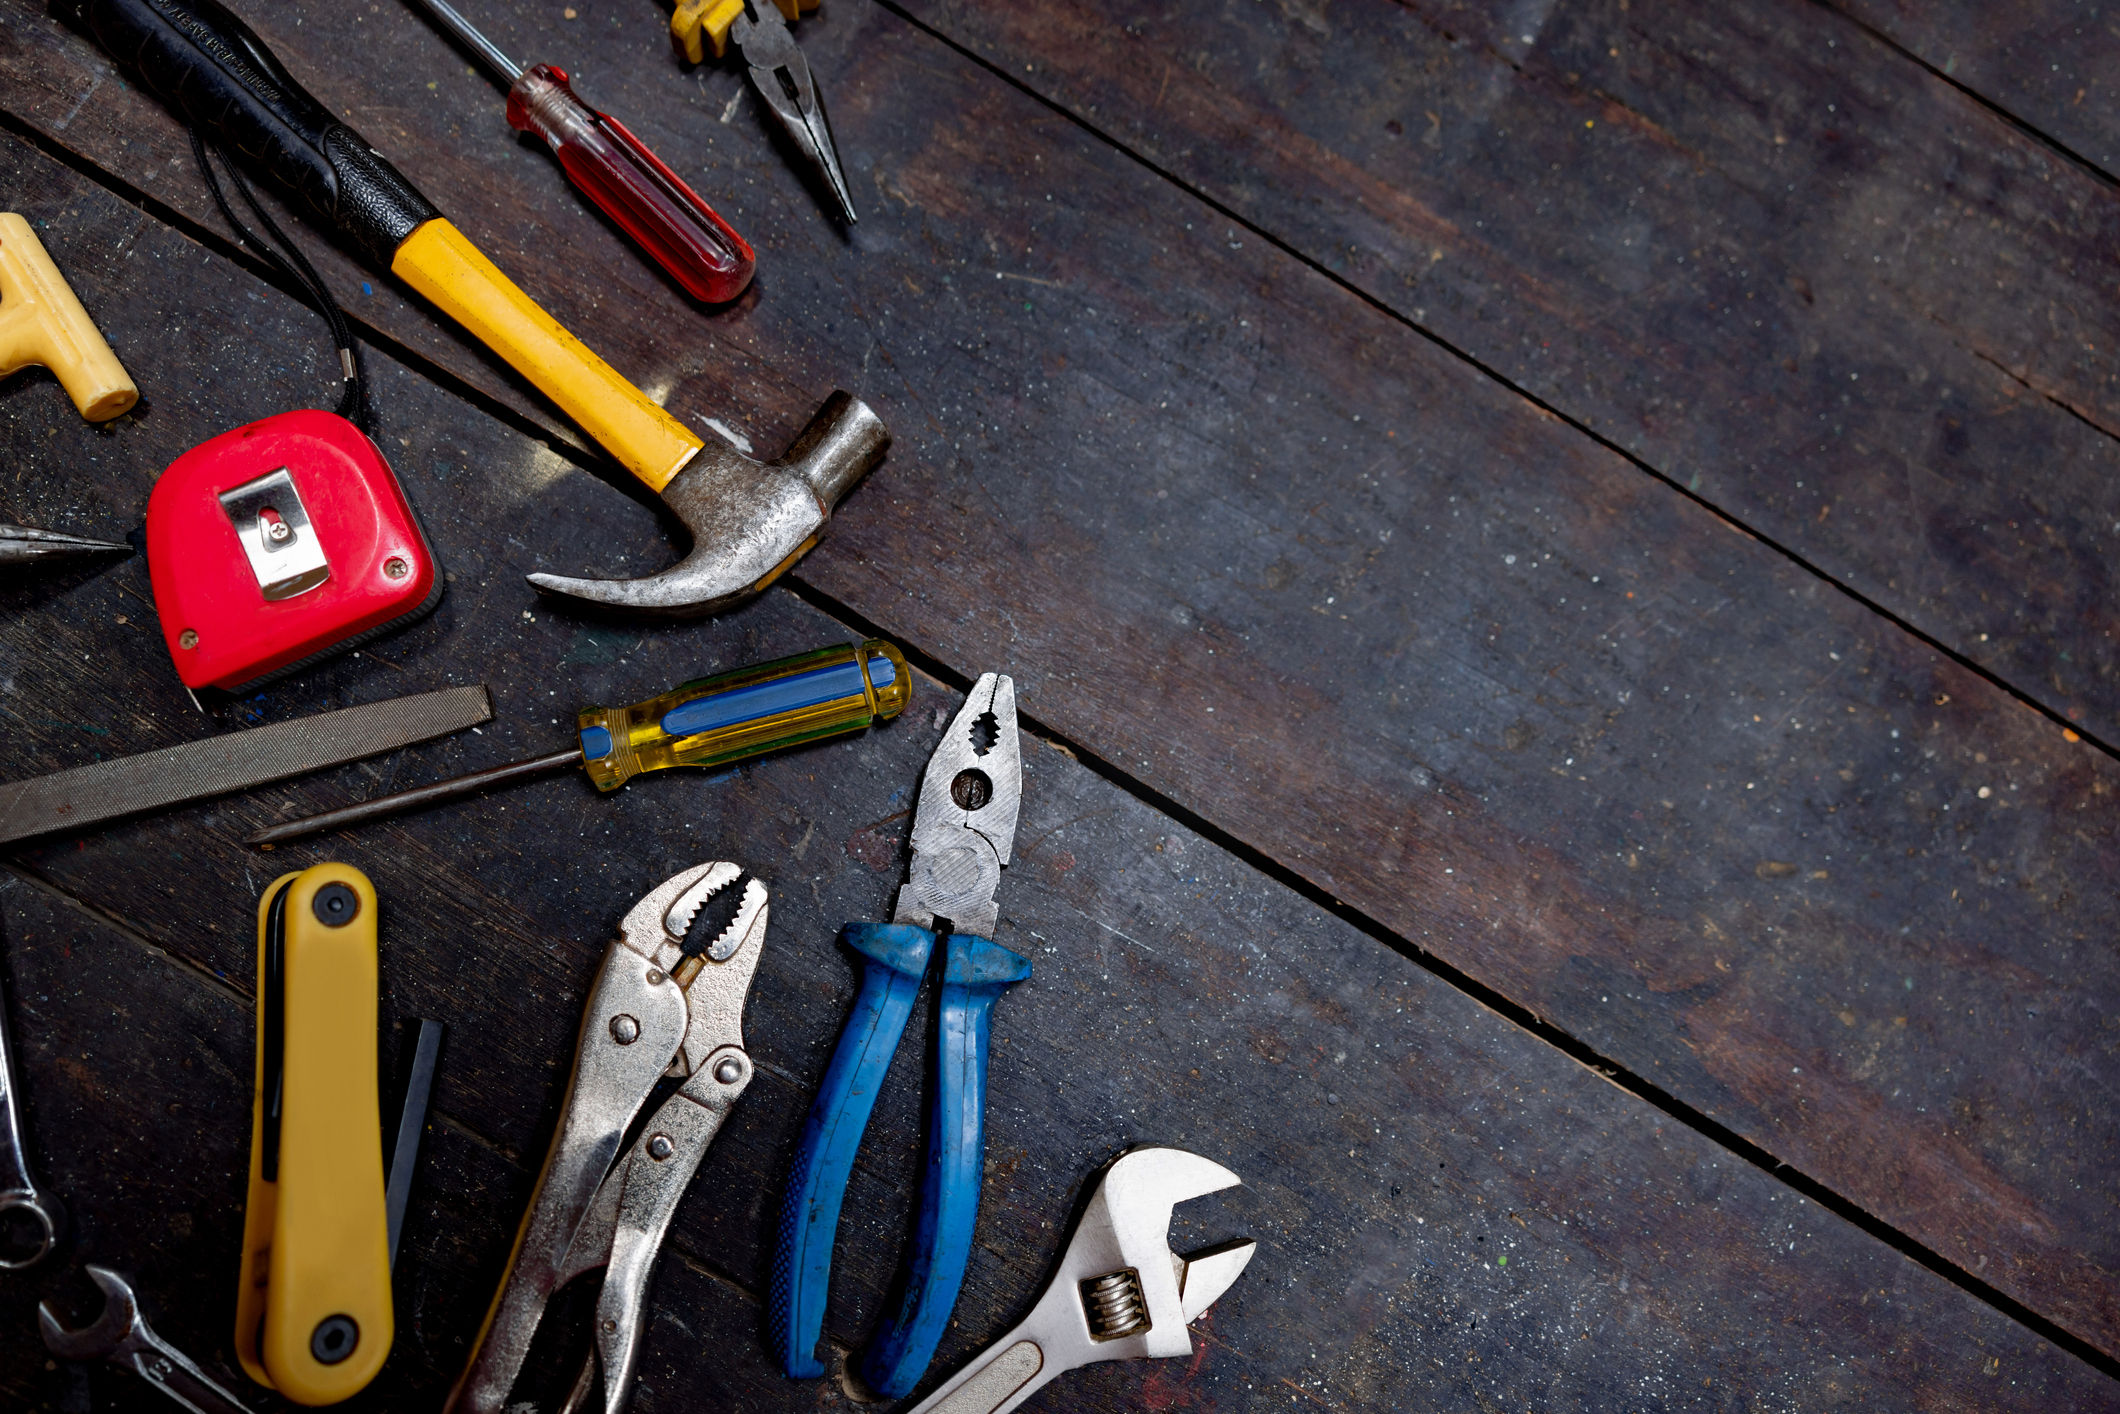
DO-IT-YOURSELF SECRETS
If you are (or want to be) a do it-yourselfer, here are the top 10 categories of tools you should have to help you with most loving-hand-at home projects…
◆ Claw hammer
◆ Level
◆ Pliers (tongue and groove long-handled pliers, needle nose, medium-sized locking pliers and slip joint)
◆ Screwdrivers (three standard sizes and three sizes of Phillips head)
◆ Adjustable wrenches or one complete set of small-to-large wrenches
◆ Utility knife (average-sized and heavy-duty)
◆ Retractable, metal tape measure (make sure it’s at least 12-feet long)
◆ Small all-purpose saw
◆ Small drill
◆ Safety goggles
You’ll also need an assortment of nails, screws, nuts and bolts, electrical, masking and duct tape, sandpaper and glue.
As you get more and more into do-it-your self projects, you will get a better idea of which tools you use most, and which need upgrading. At some point, you may want to treat yourself to a power saw or a sander…or whatever will make your workshop more complete. The main thing is to know what you’re doing before you do it. Be careful. Oh yeah, and have fun!
Cleaning Rusty Tools
Author Robert Hughes once remarked, “A determined soul will do more with a rusty monkey wrench than a loafer will accomplish with all the tools in a machine shop.”
As far as we’re concerned, you can either get the rust off that monkey wrench or prevent it from rusting. Just follow the advice below…
◆ If you have a tool that is so rusty you’re ready to throw it away, give it a final chance to unrust. Get a container—most tools will be able to stand in a wide-mouth jar—and fill it with apple cider vinegar. Put the rusty tool in, and let it marinate overnight. The next day, clean the tool with a cloth. It should be rust-free and usable again.
◆ You can also use sandpaper to take rust off a tool. Start with a fine grade, and if it doesn’t work, use coarse sandpaper.
◆ Try getting rid of the rust with a moistened steel wool pad. If that doesn’t work, you may have to replace the tool with something new…at least you know you tried.
Keep Tools from Rusting
To prevent rust, keep pieces of chalk or a few charcoal briquettes in your toolbox. This chalk or charcoal will absorb the excess moisture that causes rust.
If you don’t use a toolbox, prevent rust from forming by cleaning your tools with steel wool, then applying a thin coat of petroleum jelly.
Removing Nuts, Bolts and Screws
◆ If you want to remove a nut, bolt or screw, but it won’t budge, do the unexpected and try turning it to the right, tightening it a bit. If it gets tighter, chances are you can then undo it by turning it to the left.
◆ Pour a little cola on the culprit, wait one to two minutes for the soda to eat into the rust, then have a go at it.
◆ Distilled white vinegar, iodine or 3% hydro gen peroxide may help loosen a rusty nut, bolt or screw. Dab it on with a cotton ball and let it soak for about five minutes before turning it…yes, to the left.
The Answer to “Which Way?”
When you need to remember which way to loosen or tighten a nut, bolt or screw, try this—“righty tighty, lefty loosey.
Tightening Loose Screws
◆ If the screw is just a little loose, dip it into a bottle of clear nail polish (or coat the screw’s hole with a just-dipped nail polish brush). Let it set for a minute, and then screw in the screw.
This remedy is especially helpful if the screw is attached to a knob, like on a dresser drawer.
◆ Take a twist-tie from a loaf of bread, fold it over, then cut the unfolded, open ends so that the tie is the length of the screw’s hole. Place the V-shaped end of the twist-tie into the hole, then put in the screw.
If there’s not enough room for the screw, cut the twist-tie in half, reinsert only one side of the twist-tie in the hole, and then reinsert the screw.
◆ If the hole has gotten much too large for the screw, soak a piece of cotton ball in white glue (such as Elmer’s) and stuff it into the hole. Let it stay that way until it dries—at least 24 hours—then screw in the screw.
Creating New Screw Holes
You can close up a large screw hole and start over—just get a little carpenter’s glue or wood putty (available at hardware stores), a wooden golf tee (available from your neighbor, the golfer), a hammer and a saw.
Dip the tee in the glue or putty, hammer the tee into the screw hole and let it dry over night. Then saw off the part of the tee that’s jutting out of the wall, sand it flush, and you’re ready to create a new hole for a screw or a nail.
Keeping Screws, Nails, Nuts and Bolts Together
When you take something apart, don’t risk losing any of the hardware, especially if you will need to put the object back together again. As you remove them, stick all of the nails, nuts, bolts and screws on a thick piece of tape.
It’s a good idea to stick the parts on the tape in the same order that you remove them (you may also want to write down the order as a backup).
Dealing with Drywall
◆ If you’re putting up a shelf or a mirror or a towel bar, you’ll want the solid backing of studs (the vertical two-by-four-feet boards behind finished walls) to hang them securely.
If you do not have a battery-powered stud finder (available at hardware stores), you can use an electric razor. Plug it in and move it on the wall as though you were giving it a shave. When the razor passes over a stud, the sound will change from a hollow hum to an up-front buzz. Once you have found a stud, there should be another stud one or two feet away.
◆ When you know the exact spot on the dry wall that you plan to hammer in a nail, place a piece of masking or transparent tape there. It should help prevent the plaster from chipping off as the nail goes in. Once the nail is in the wall, gently and slowly peel off the tape so that the paint and plaster continues to stay intact.
Hammering Made Painless
If the nail in question is in an awkward spot and it’s difficult to hold in place while you hammer (or if you hit your finger more often than the nail), the answer to the problem is a strip of clay (available at crafts and toy stores). Stick the clay on the wall, and let it hold the nail for you. Once you’ve nailed the job, peel off the clay.
Hit the Nail on the Head
If you rub the head of your hammer with fine sandpaper every so often, it will help prevent the hammer from slipping off the nail and hit ting your finger or the wall.
Using a Screwdriver
◆ To keep a screwdriver from slipping off the head of the screw, rub chalk on the end of the screwdriver before using it.
◆ Before screwing in a screw, screw it in and out of a bar of soap. The soap-coated screw should then screw into your target easier. (Easy for us to say, we know.)
Shine a Light
If you need to use an electric drill in a dark area, tape a small flashlight (such as a penlight) to the side of the drill to make the work more visible…this will make it easier and safer to do the job.
Fixing Squeaky Hinges
If the hinges on a door or cabinet are squeeeeeaking, just dab a bit of petroleum jelly or foam shaving cream on the noisy part, or spray the hinges with nonstick vegetable spray.
Keep opening and closing the door until the jelly or spray works its way in and thoroughly lubricates the hinges.
Making Drawers Glide
Go over the tracks or runners of a drawer with a bar of soap or some leftover candle wax, and they’ll practically open and close by themselves.
Smart Sandpaper Substitute
When a small job requires sandpapering, it may be more efficient to use an emery board than to try to maneuver a piece of sandpaper in a tiny or hard-to-reach place.
Fixing a Sticky Door
◆ Find the exact spot that causes the door to stick, then sandpaper it down a little at a time until it no longer sticks.
◆ If the bottom of the door is rubbing, wedge coarse sandpaper between the floor and the door, and open and close, open and close, until the trouble spot is sanded down.
NOTE: To make sure you sand the door and not the floor, staple a piece of thin cardboard on the bottom of the sandpaper—it should rest on the floor while the coarse sandpaper is up against the bottom of the door.
Hiding the Dark Marks
If there are annoying little marks throughout your home, consider covering them up with liquid correction fluid. Even though the white fluid may be whiter than most kitchen sinks or bathroom tiles, it will cover up a dark ding and make it a lot less noticeable.
If the surface on which you apply the cover-up is shiny, dab a little colorless nail polish over the correction fluid.
NOTE: In addition to white, Liquid Paper correction fluid comes in several colors, such as ivory, blue, green, pink, ledger buff and canary yellow. You can also get a matching paint sample from your local paint or hardware store.
For additional DIY tips and other advice for your home, purchase Household Magic from Bottomlineinc.com.